ESP 8266
Inhaltsverzeichnis
- 1 Einführung & Programmierung des ESP8266 NodeMCU Boards
- 2 ESP8266 Module - Starter Anleitung
- 3 Wiki
- 4 ESP Easy
- 5 Typen
- 6 GP2Y10
- 7 ESP Easy Sensoren in FHEM einbinden
- 8 Tinkerblog : ESP2866 & ESPEasy
- 9 ESPEASY PN532
- 10 Statusdisplay mit ESP Easy, DLCD und FHEM
- 11 Fhem: LCD 2004 Display mit ESPEasy als Statusanzeige
- 12 ArduiTouch Wandgehäuse Set für ESP8266 und ESP32
Einführung & Programmierung des ESP8266 NodeMCU Boards
https://tutorials-raspberrypi.de/einfuehrung-programmierung-esp8266-nodemcu-boards/
ESP8266 Module - Starter Anleitung
http://stefanfrings.de/esp8266/index.html
Wiki
https://de.wikipedia.org/wiki/ESP8266
ESP Easy
Get started
Getting started with the ESP Easy takes a few basic steps. In most cases your ESP module comes with the AT firmware or the NodeMCU LUA firmware. We need to replace the existing Firmware with the ESP Easy firmware. We provide a (Windows only) flashtool to make this process an easy job. Below you find the general flow of this but an in depth guide is found here.
1. Download firmware as binary including flash tool
2. Connect the ESP to Windows PC
Using either USB/UART of board or separate USB/TTL adapter
3. Write firmware using flash tool
Note necessity for GPIO to be LOW to enter flashmode
4. Restart ESP. WiFi AP "ESP_Easy_0" will appear, password: configesp
(prior to 2.0 the AP was named ESP_0)
If you're not automatically taken to the log-in page, browse to 192.168.4.1
5. Search for you routers WiFi and connect
(if you have multiple AP they will all show up with the same SSID name multiple times)
6. Reconnect to your WiFi and enter IP adress shown on previous screen
https://www.letscontrolit.com
https://www.letscontrolit.com/wiki/index.php/ESPEasy
https://github.com/letscontrolit/ESPEasy/releases
https://www.letscontrolit.com/wiki/index.php/History_of_ESP_Easy
the AP was named ESP_0). Connect to this access point with default password: configesp.
ESP Easy – Weboberfläche zur Konfiguration von ESP8266-Chips
https://waschto.eu/easyesp
GitHub
https://github.com/letscontrolit/ESPEasy/releases
Typen
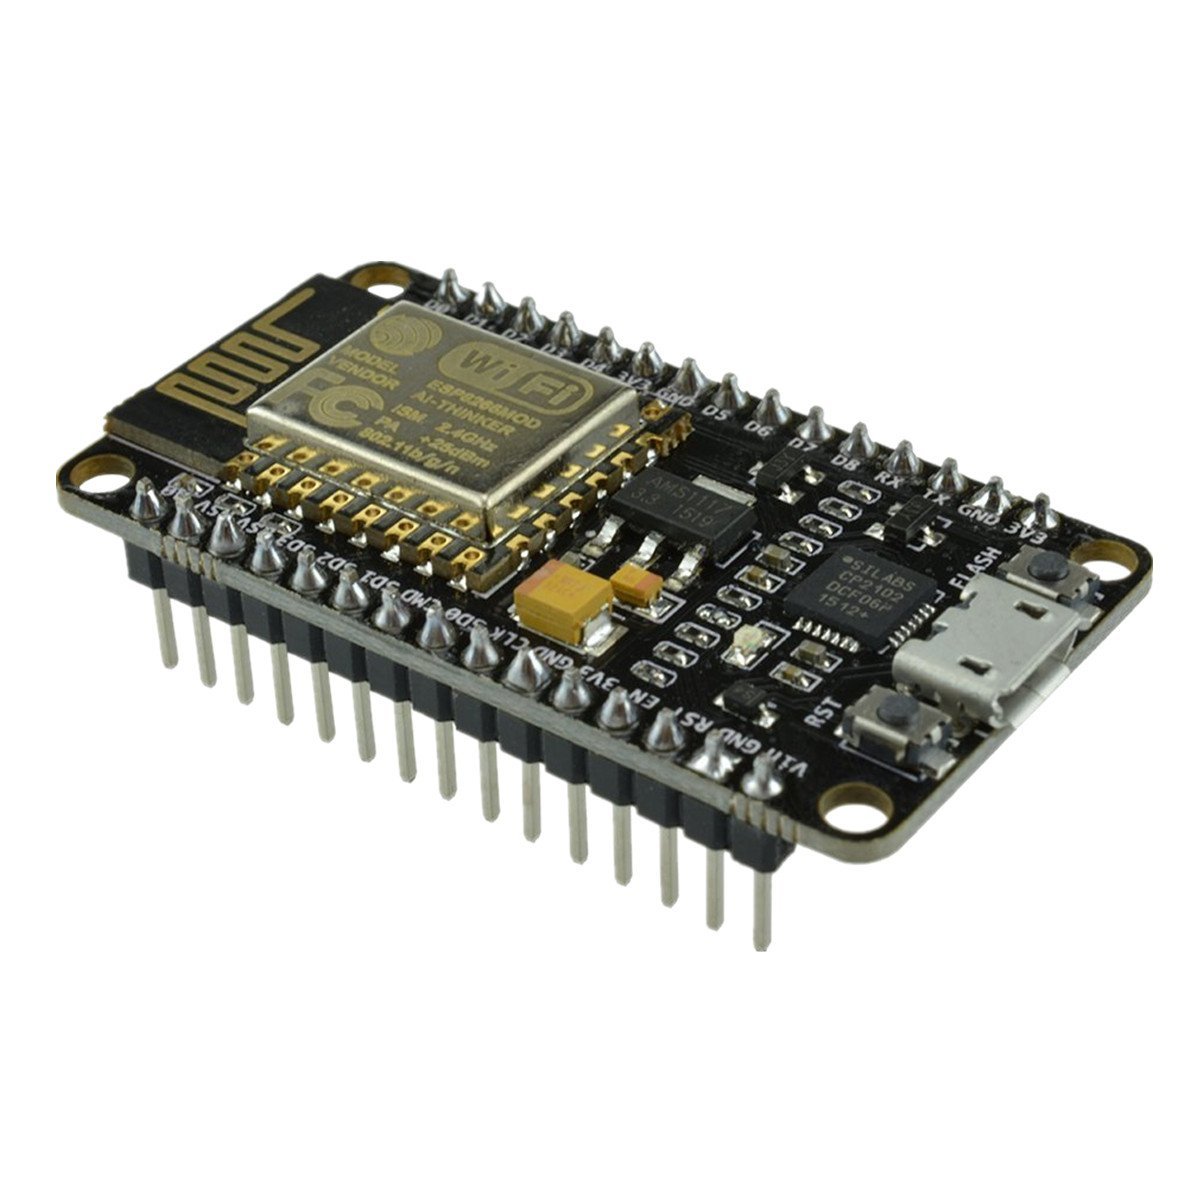
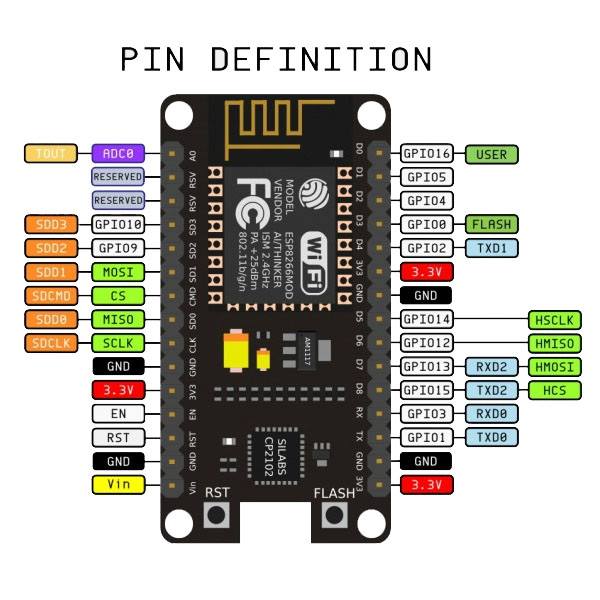
NodeMCU
QuickStart
https://benlo.com/esp8266/esp8266QuickStart.html
http://theelectromania.blogspot.de/2016/02/how-to-program-esp8266-esp-12e-nodemcu.html
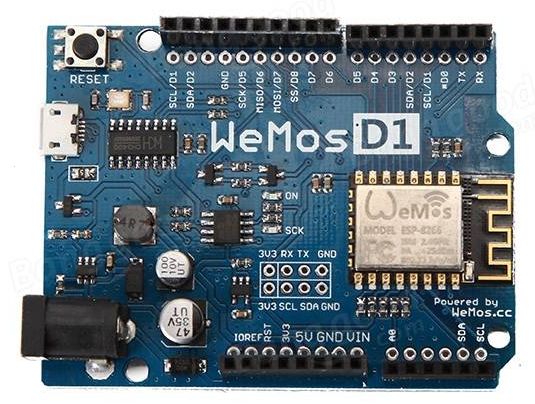
Wemos D1
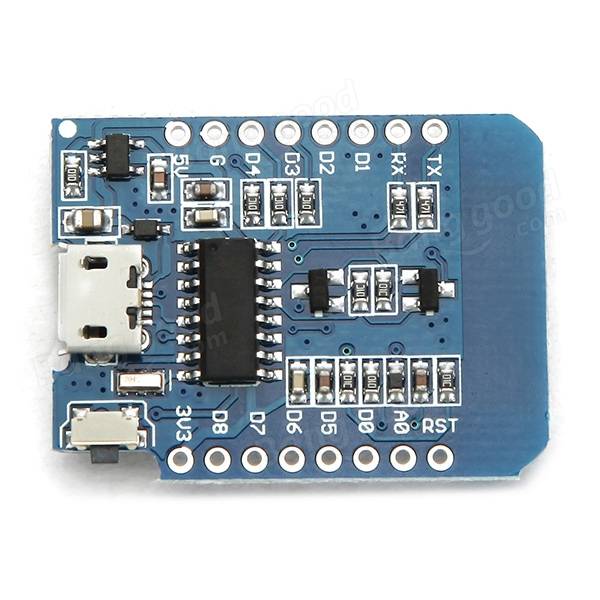
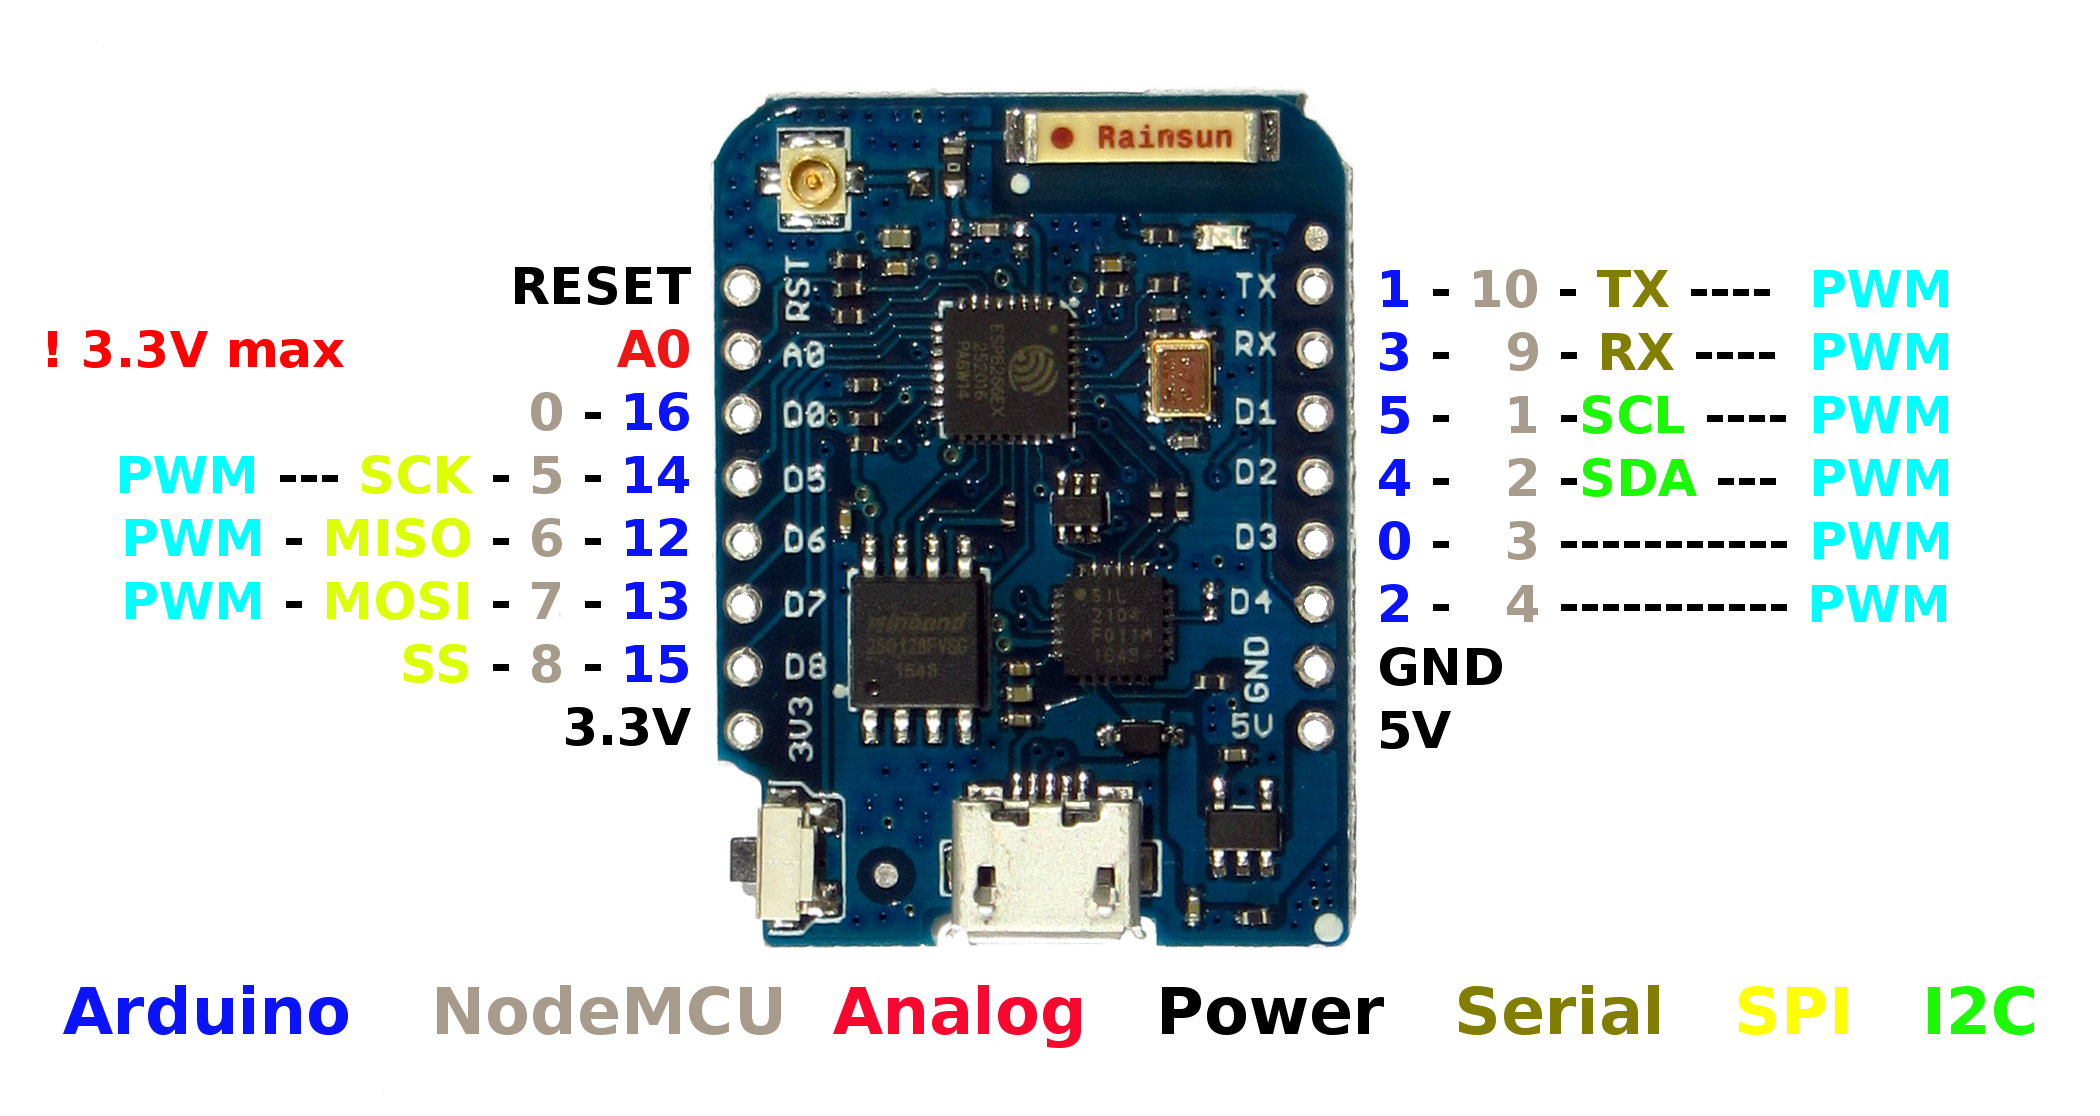
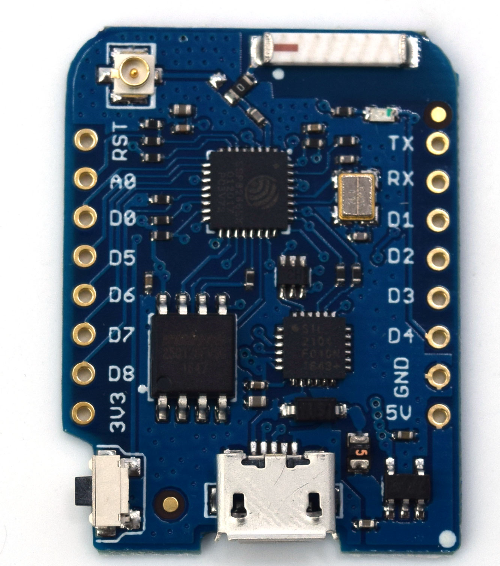
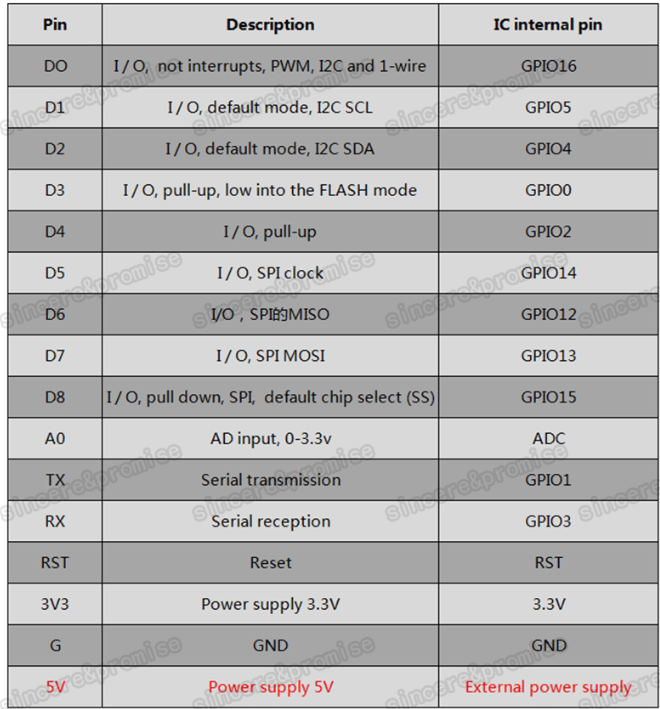
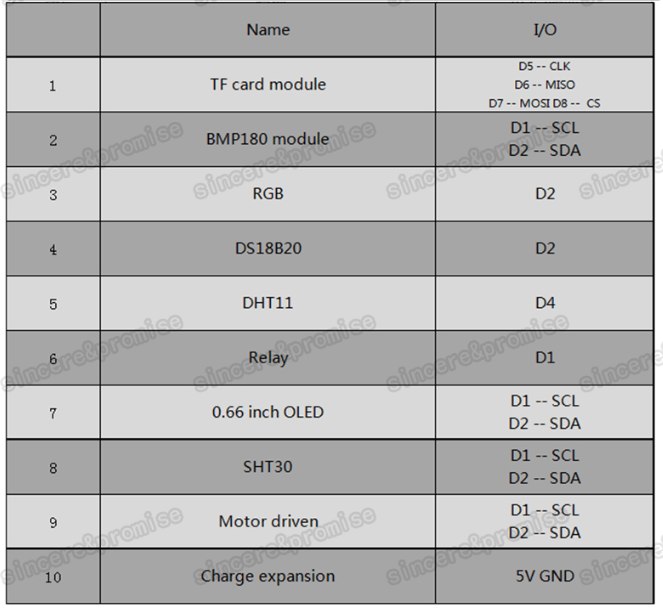
Wemos D1 Mini
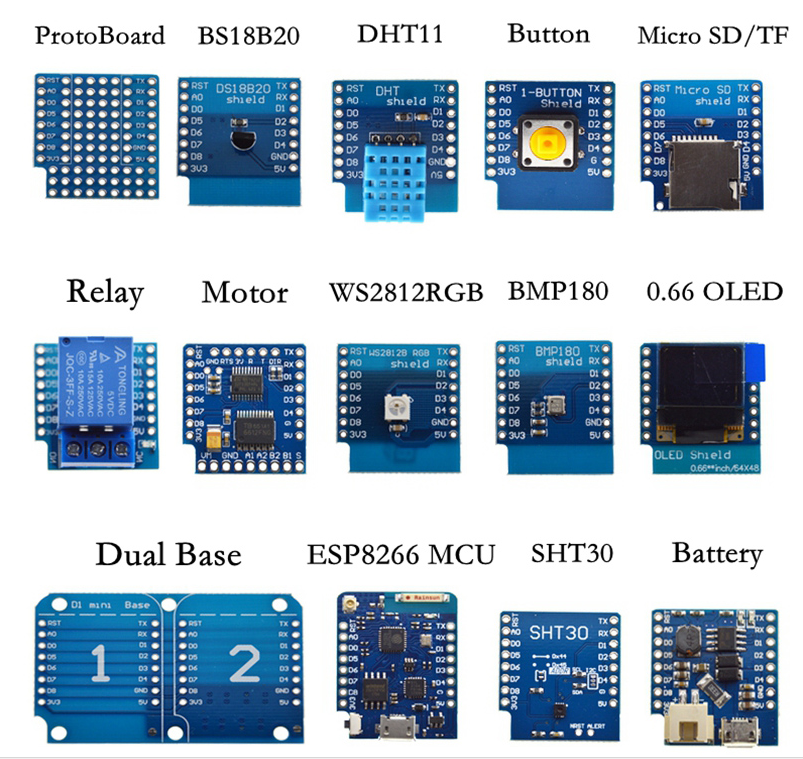
Boards
D1 Mini Pro
WS2812 GRB
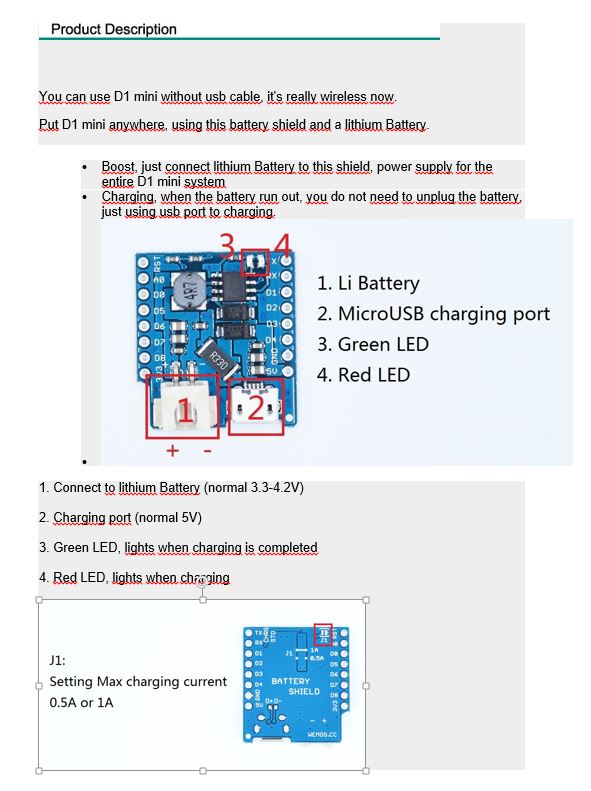
Battery
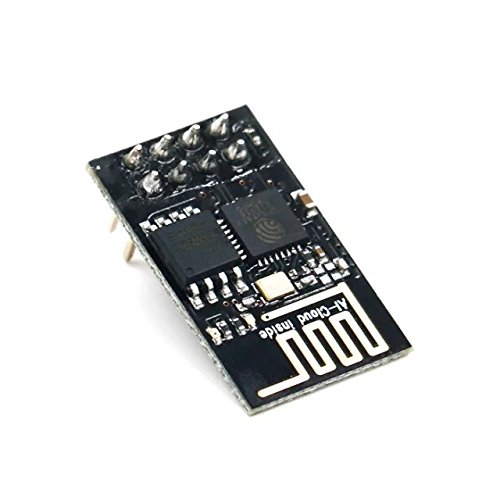
ESP 01
ESP 07
ESP 12
GP2Y10
https://www.letscontrolit.com/wiki/index.php/GP2Y10
ESP Easy Sensoren in FHEM einbinden
https://waschto.eu/easyesp-sensoren-in-fhem-einbinden
Tinkerblog : ESP2866 & ESPEasy
https://tinkerblog.net/wemos-d1-mini-node-mcu-esp-easy/
ESPEASY PN532
https://www.letscontrolit.com/wiki/index.php/PN532
Statusdisplay mit ESP Easy, DLCD und FHEM
https://waschto.eu/statusdisplay-mit-esp-easy-dlcd-und-fhem/
Fhem: LCD 2004 Display mit ESPEasy als Statusanzeige
https://blog.moneybag.de/fhem-lcd-2004-display-mit-espeasy-als-statusanzeige/
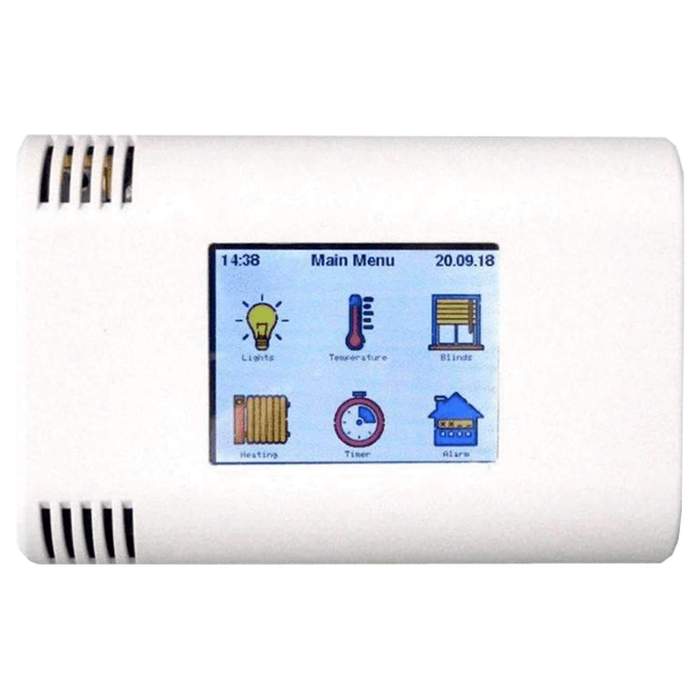
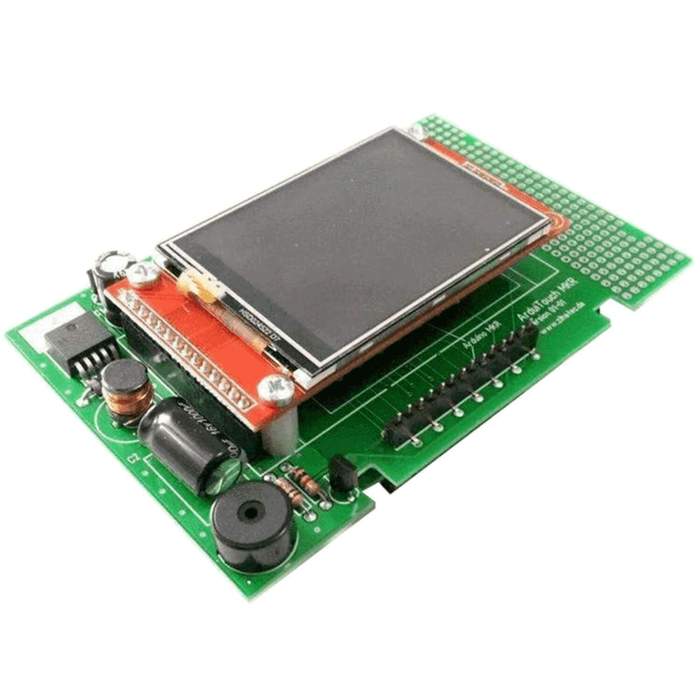
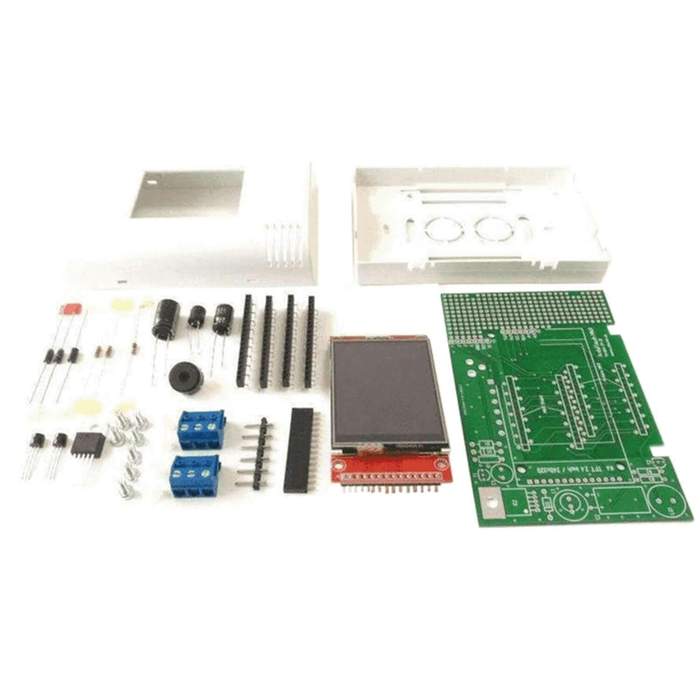
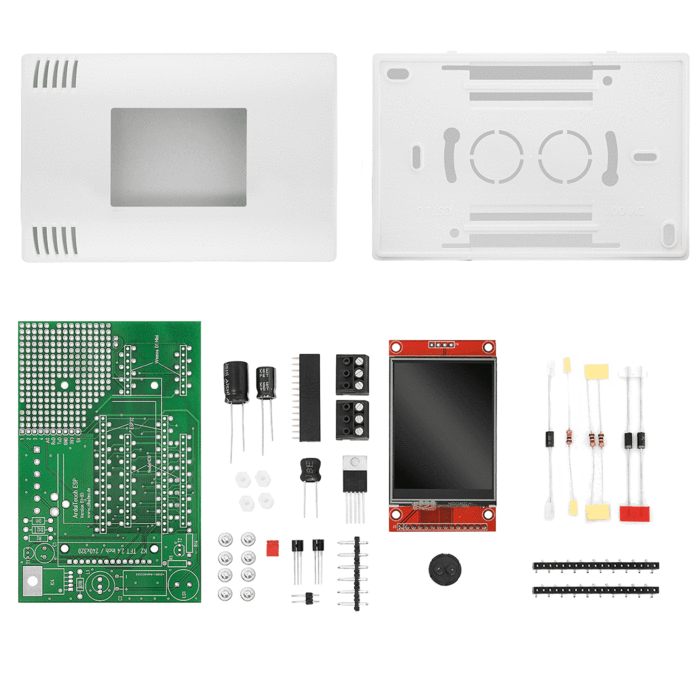
ArduiTouch Wandgehäuse Set für ESP8266 und ESP32
Wandgehäuse 120mm x 80mm x 35mm (W x H x D). 2,4 Zoll (6,14cm) Farb-TFT mit 320 x 240 Pixeln (ILI9341). Resistiver Touchscreen (Touchcontroller XPT2046)
Integrierter 5V Spannungsregler (Eingangsspannung 9 - 35V DC). Eingebauter Piezosummer.
https://www.az-delivery.de/blogs/azdelivery-blog-fur-arduino-und-raspberry-pi/arduitouch-wandgehaeuseset-mit-touchscreen-fuer-esp32-und-esp8266
https://www.hwhardsoft.de/english/projects/arduitouch-esp/
